Custom Report Center
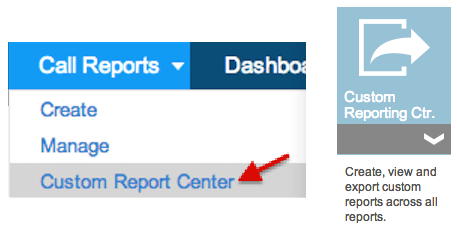
Custom Report Center is a powerful reporting feature that enables users to extract reports across multiple call reports. As the name hints, this feature gives users the option to customize the report structure, i.e. to pick and choose the columns to be displayed in the report. Once the report structure is chosen, filters such as date range, Store Location, User Roles etc can be applied to further refine the result set. Users will also be able to save their favorite custom reports for future use. Custom Report Center feature can be accessed by navigating to 'Custom Report Center' page under Call Report Tab on Admin portal (as shown below).
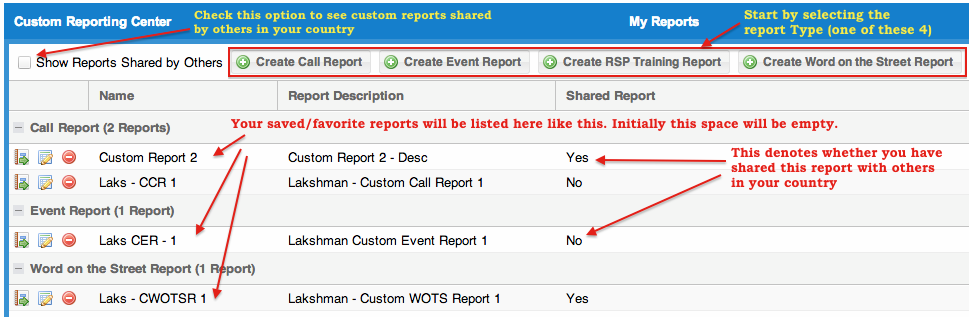
When you enter the new Custom Report Center the first time, the screen you land on to is largely blank (as shown below). As you start to create and save reports, they will list here as shown later in this document. Those saved reports will start to list here on the main page. Click one of the 'Create ..' buttons to get started.
Note:
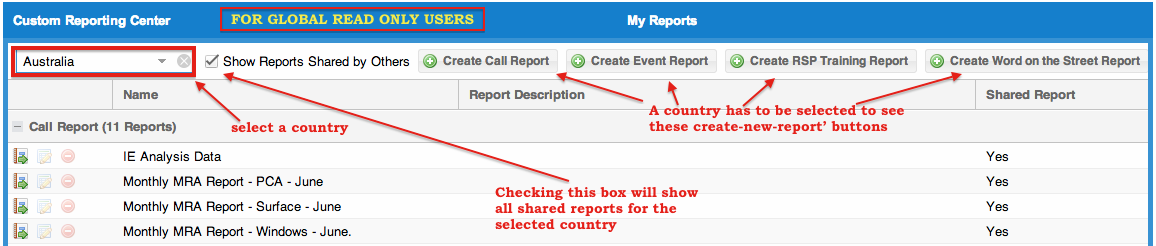
For Global Read Only users, there will be a 'Country' select menu on their main page (as shown in the picture below). A country has to be selected before they can see various create buttons.
Currently there are four types of custom reports that can be generated. Click on the link to go to respective pages.
Saving a Custom Report as favorite
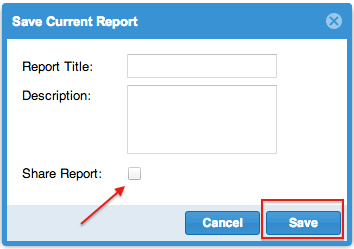
You can save as favorite, the criteria / filters of your custom report by clicking on the "Save Current Report" button at the bottom on left pane (refer to the 1st picture below). It opens a pop up windows (2nd picture below) where you can enter your preferred title for the query and a description. The "Edit" button beside 'Save Current Report' button lets you choose and edit one of the previously saved report queries (3rd picture below).

Saved reports will be listed down on the main page of Custom Report Center (like shown below).
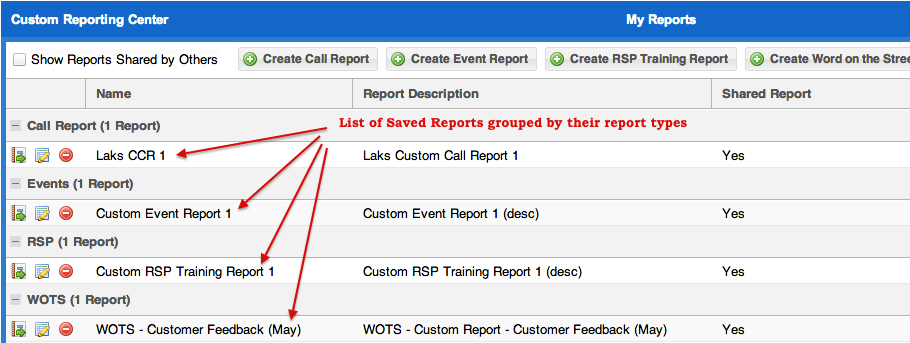
There are three options available to you with a saved custom report:
|
View Report |
|
Edit Report |
|
Delete Report |
'View Report' will directly take you to the page where you can set filters and execute the report. 'Edit Report' will allow you to reselect the call reports and questions (fields). 'Delete Report' allows you to remove that saved report from the list. A confirmation box will be shown before you delete.
You can share your saved reports with other users in your country. To do this, please check the option 'Share Report' while saving a report as your favorite (as shown below).
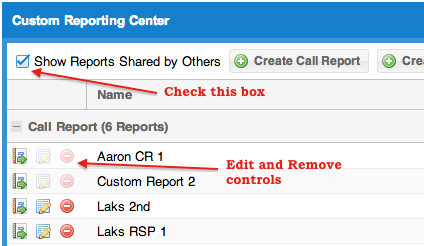
You can also edit an already saved report and share it at a later point in time. For that, go to the main page of custom reporting center, click on the 'Edit' button of the relevant saved report. This will open a small pop up window like shown below, where you can check the 'Share Report' check box and Save. To un-share a report, un-check this box and save.

To view reports saved and shared by others in your country, tick the check box 'Show Shared Reports' (refer to the picture below). You will not be able to remove or edit reports shared by others.
Just like scheduling normal call reports you can also schedule your saved custom report or a custom report shared with you by other users in your region. This helps to automate the task of generating the report and emailing the results at a time of your convenience.
Please follow the steps below to add a new scheduled task (report generation task).
Step # 1
Click on the 'Schedule' button of the custom report (like shown below).

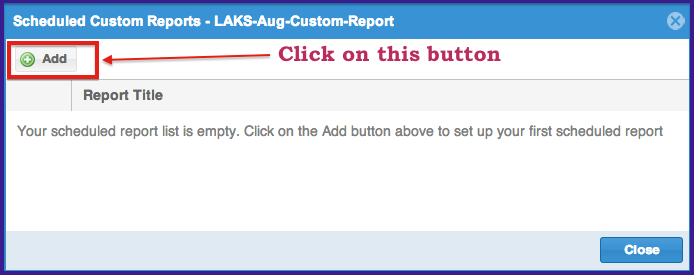
Step # 2
A popup window (like below) will appear. Click on the "Add" button. If there are no previously scheduled reports, this page will be empty. Otherwise, the scheduled tasks will be listed here.
Step # 3
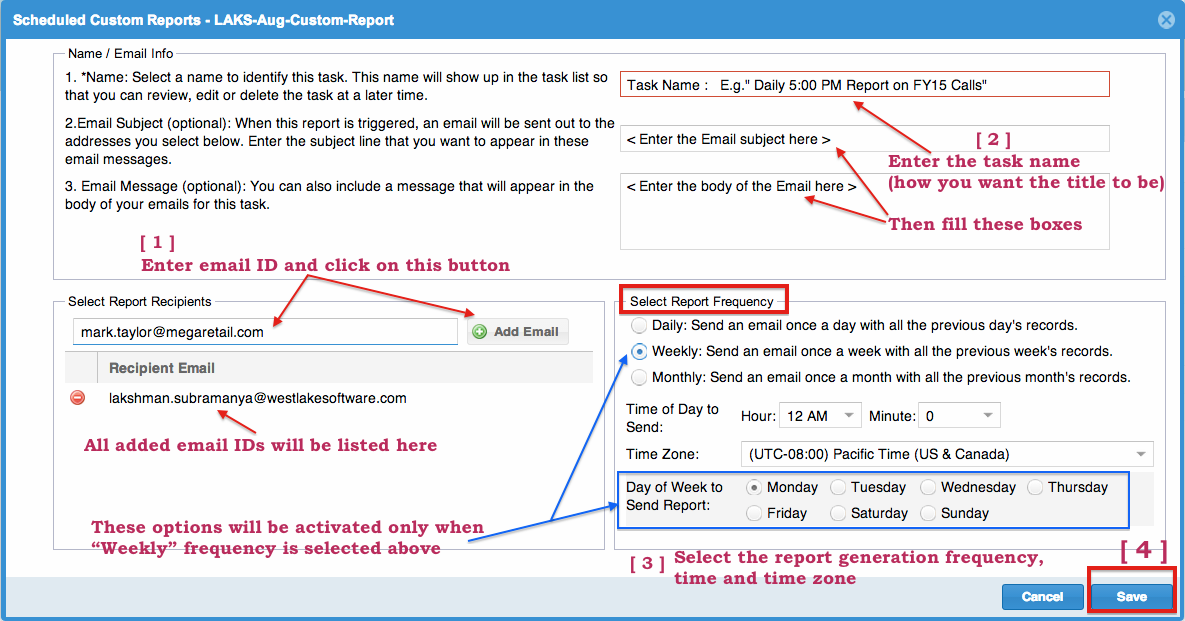
Enter the email addresses, task name and report generation frequency and "Save".
You will get a success message like this. Click OK. Then you will land back on Scheduled Report Task listing page.
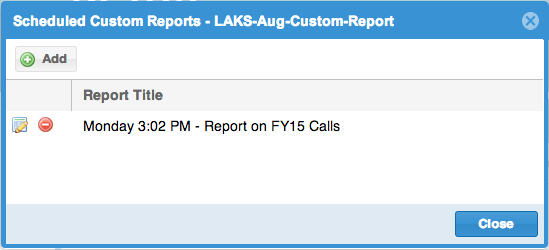
You will be able to see your just now added scheduled report task listed here.
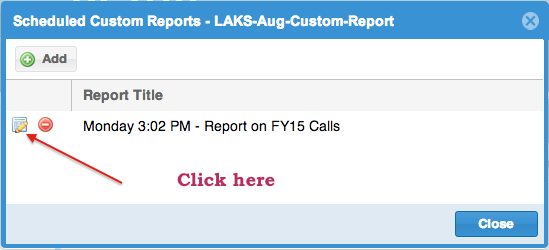
To Edit an existing scheduled task (report generation task), click on the "Edit" button, make necessary changes and "Save" (as shown below).
You will get a success message like this. Click OK.