Creating Custom Call Report
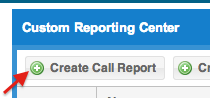
Step 1: Click on 'Create Call Report' button on Custom Reporting Center main page to get started.
Note:
For Global Read Only users, there will be a 'Country' select menu on their main page. A country has to be selected before they can see various create buttons.
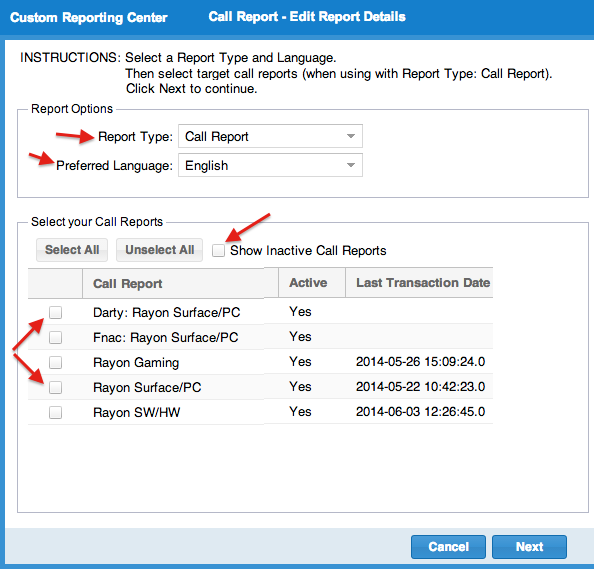
Step 2: Choose preferred language and the call report(s) you are looking to generate the report on.
As you can see in the picture below, unless you want to switch to other report types such as Event Report, WOTS report, RSP Training report etc. leave the report type as 'Call Report'. You may also expand the list to also include inactive Call Reports. Tick the check box if you want to consider inactive call reports for the report. For example, if you are interested in generating a report of Manager’s names your reps met with across all call reports, you would use the Select All button shown to quickly select everything. If you were interested in generating a report about Surface Inventory and Surface demos running but do that with only four specific call reports, this is the section in where you would individually pick those call reports (you do this by placing a check box next to the call report or call reports in which you want to create the extract). Last transaction date is displayed to help you better determine a date range (shown on the next page) to pull your reports. This is most useful when also pulling and/or including inactive reports. Click on 'Next' button at the bottom right corner to proceed to the next step.
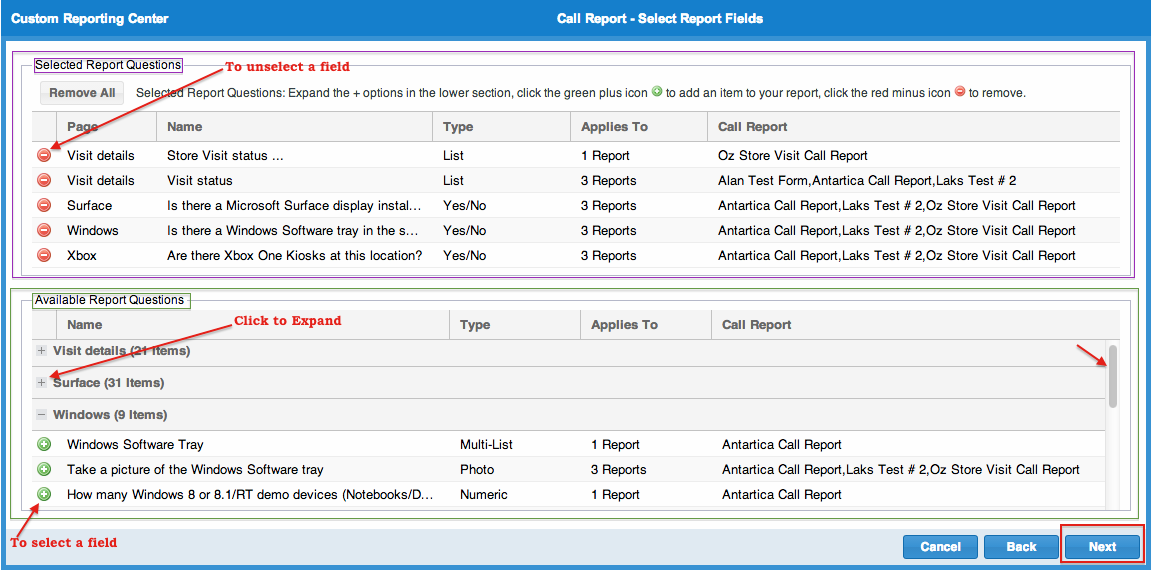
Step 3: Choose the questions / fields from selected call reports
On this page, you will see two horizontally arranged panels. The top panel shows the list of selected fields / questions (in the order of appearance) and the bottom panel shows the list of all available questions / fields for selection (from the call reports you selected in previous step). You will be able to see all the fields / questions available in the call reports you selected in the previous page. All fields are grouped based on products / sections. The collapse / hide button will help you expand / minimise the list. 'Type' refers to the response type of the field / question. 'Applies To' gives the count of how many reports from your selection in previous page contains that particular field.
To add / select a question / field in to the upper panel, Click on the plus button  corresponding to the question in the lower panel. You can also drag and drop the questions. As you add / select a question / field, it disappears from the bottom pane.
If you want to remove a selection, just click on the corresponding minus button  on the top panel. It will appear back on the bottom pane. You can also drag and drop the questions to the lower panel.
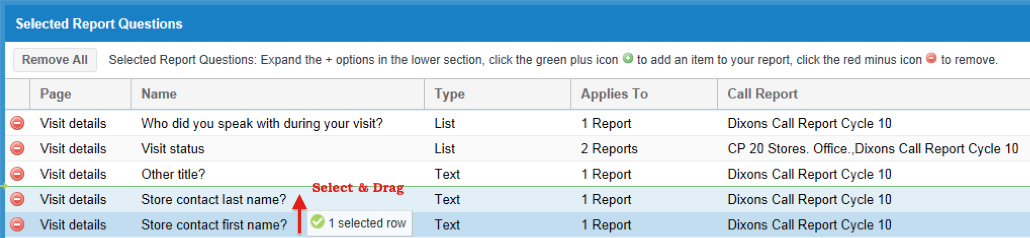
What if the order of the questions matters in your extract? For example, you may be running the data you are extracting in a mathematical formula in Microsoft Excel. And, if the questions are not in a particular order, this could cause disruption to your work flow. The items in the upper section are drag and drop ready. You can grab any question and drag it down or up to allow you to select the desired order of your questions.
Once your field selection is complete, please proceed to the next page by clicking 'Next' button. You also have the choice of going back to the previous page (form selection) or canceling this activity altogether.
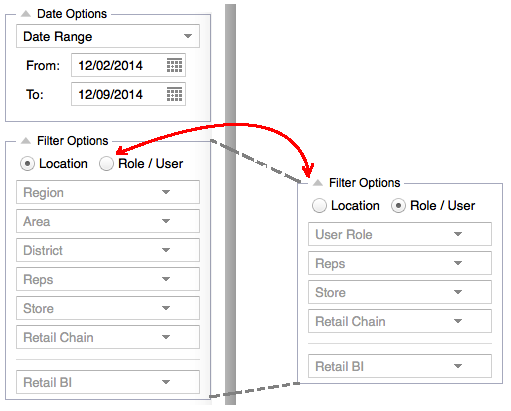
Step 4: Choose Filter Criteria
On this page, you will see two vertical panels. The panel on left side is for filter options and the one on right side is where the report will be displayed.
As shown below, on the left panel, you can select filter criteria specific to date range and Store location or User / Role (similar to filter criteria selection in dashboard reports). By default, current week is pre-selected in the date range box. You may click on the date picker to change the date range. Location based filter options allow sub filters based on regions and sub regions as designed in store management page. Role based filters allow sub filters based on various user roles defined in the user management page. For a selected user role, you can further filter down on individual user names and the stores assigned to the user. Both user role based and location based filter options allow Retail Chain and Retail BI sub filters to focus the results on the line of business.
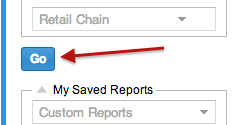
Once you have chosen the filters, click on the 'Go' button to view the report on right side panel. Refer to the picture below.
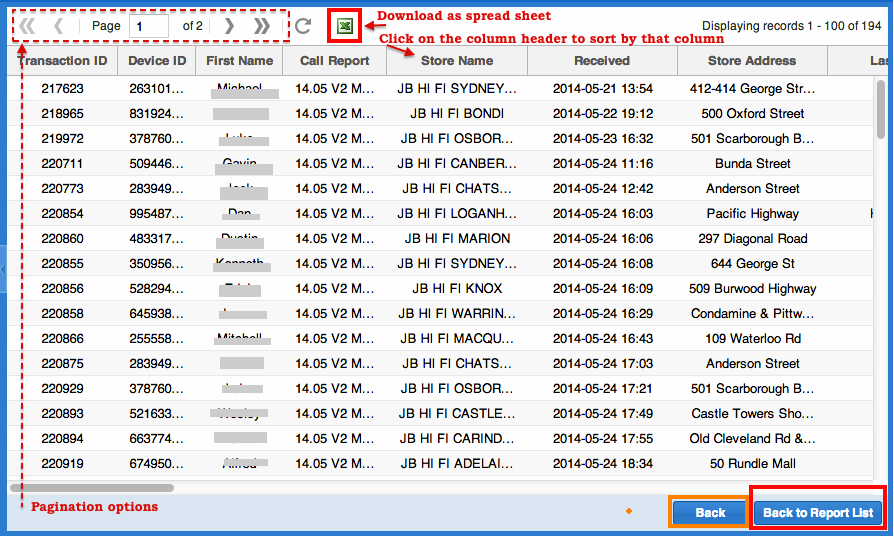
In addition to all the responses to the desired questions in the extraction rules created on the previous two pages and by your filter rules, there will also be the following fields:
• Device ID Number
• First Name of Rep
• Last Name of Rep
• Call Report Name
• Date and Time Received
• Country of Origin
• Chain
• Chain Category
• Store ID Number (when available)
• Store Name
• Store Address
• Store City
• Store State/Province
• Store Postal Code
These fields will help you distinguish the records uniquely.
At a time 100 records are displayed in a page (scroll down). If there are more records satisfying your query and filter conditions, they will be paginated. You can click on the '>' button to move forward to the next page. You have the option to download the entire report as a spreadsheet. Clicking on 'Back to Report List' button at the bottom right will take you to the home page of Custom Report Center. Clicking on the 'Back' button will take you to the previous page (step) where you chose the fields.
Step 6: Save current custom report (optional)
Step 7: Share a saved custom report (optional)