Photo Report Dashboard
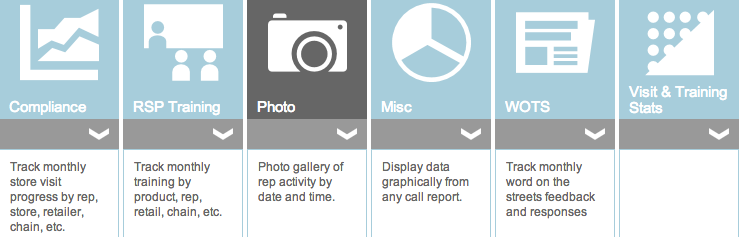
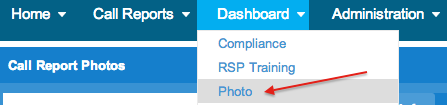
Photo dashboard report shows the photos uploaded to REP system through various report submissions. Click "Photo" from Dashboard sub menus to land on Photo dashboard report page.
Once you are on photo dashboard page (as shown below), please select a date range and other filters as applicable from the left panel and hit on the 'Go' button to view the list of photos on the right panel. By default, current week is selected as date range. This report can take slightly longer time than other reports because it has to pull photo files from the database. There are 2 views (2 tabs) of photo report. Photo View and Transaction view.
![]()
Photo View:
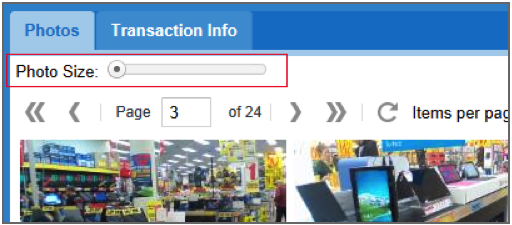
Photo view or 'Photos' tab is the default view. As shown below, this view displays all photos from different reports that satisfy the filter condition.Click on the photo to enlarge. This view also offers photo size adjustment control and pagination control. Users can select photos for download. Please refer to the picture below to know about various controls on this page.
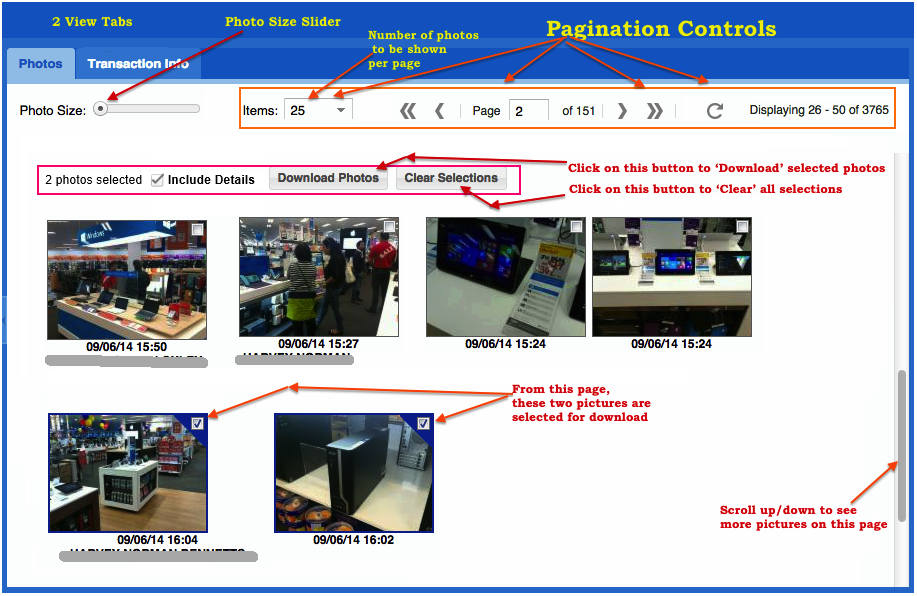
The 'Include Details' check-box allows reporting users and Admins can now choose if the photo detail is included before downloading a selection of photos. This will reduce the amount of cropping later on while using the photos in presentations and reviews.
Filter Options
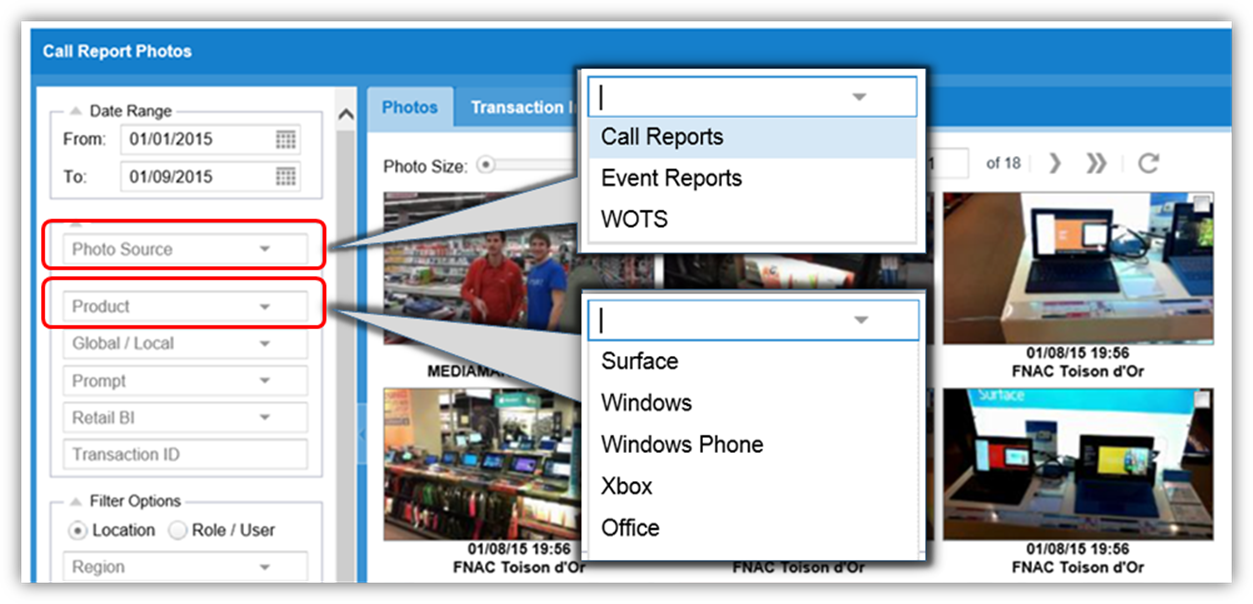
The Photo Source filter can isolate photos taken through WOTS, Event Reports and Call Reports. This enables the users to choose which type of call report is queried for results. 'Product' based filter allows filter results specific to a product (General, Windows, Surface, Office, XBox, PC Accessories or Windows Phone). 'Prompt' based filter is an independent filter that allows to select specific questions (form fields) to which photos were attached. 'Transaction ID' box will allow searching for all photos submitted with a particular report submission.
Default photo report view considers photos pertaining to all global and local questions with photo fields. Just like in other dashboard reports, under Location category, you can apply sub-filters based on regions and sub regions as designed in store management page. User / Role based filters allow sub filters based on various user roles defined in user management page. For a selected user role, you can further filter on individual user names and the stores the user is assigned to. Both user role based and location based filter options allow Retail Chain and Retail BI sub filters to focus the results on the line of business.
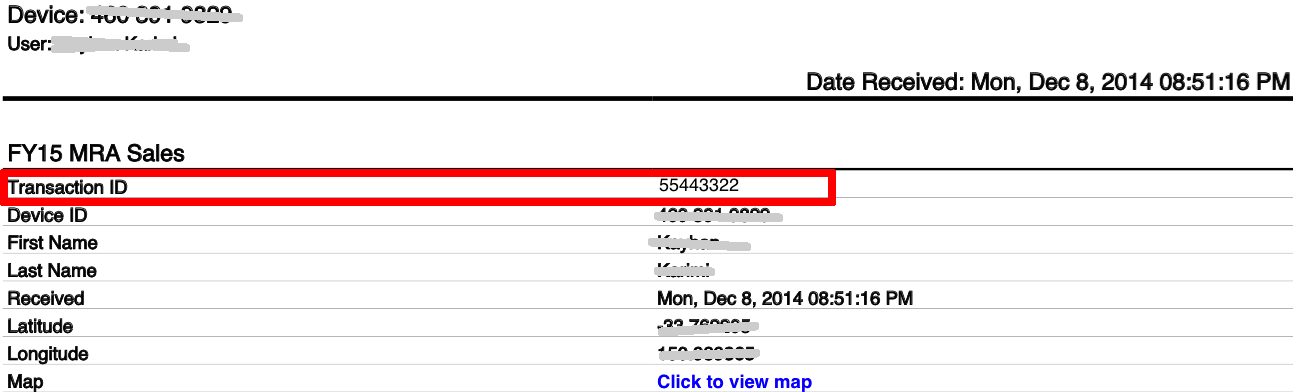
Every call report / event report / WOTS report successfully submitted to REP server will have an associated transaction ID. You can view this info in the pdf file corresponding to every transaction record displayed in 'Transaction Info' tab.
Note:
Kindly note the 'Global / Local' filter corresponds to the global or local nature of the photo field questions in various Call Reports. Whereas location based filter corresponds to store location (Store Address). If none of the location filter is selected (e.g. Region / Area / District etc.) is selected, the results will show only globally set photo field questions. If one of the location filters / sub-filters is selected, all questions for that location (global + local questions) will be shown. Therefore, photos submitted through Word on the Street (WOTS) form that are not associated with any stores also will be displayed amongst 'Global' photos. If any of the store location related filter / sub-filter is selected, all the Word on the Street (WOTS) submissions will be omitted from the results. To get a clearer idea of the results, please compare photo view results with the results from the Transaction Info Tab.
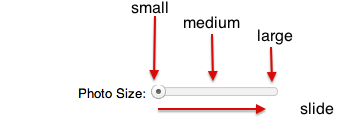
Photo Size
The photo size slider / adjuster offers three levels of thumbnail photo sizes; small, medium and large. By sliding the indicator to the desired size, the photos below with adjust accordingly.
Paging Feature
Paging feature (Pagination) controls the number of photos that will display on the screen at the same time. We have set the default of the number of photos shown per page to 25. This will help create a faster experience when re-sizing and re-loading photos over the Internet. You can increase the number of photos per page. However, the more you display on a single page, the longer the load time will be per photos set by your filters. The best quality and largest display of photos remains to be by clicking directly on the photo for a fuller screen display.
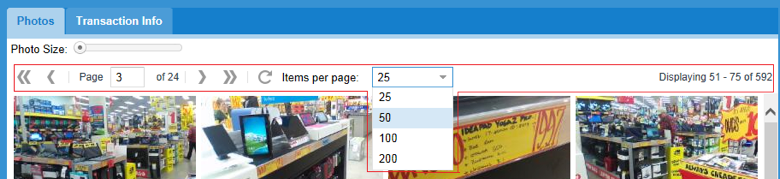
The number of pages is determined by how many photos are driven from the filter options on the left and by the number of items per page in which you set. The total number of photos available per your filter set options is displayed on the far right.
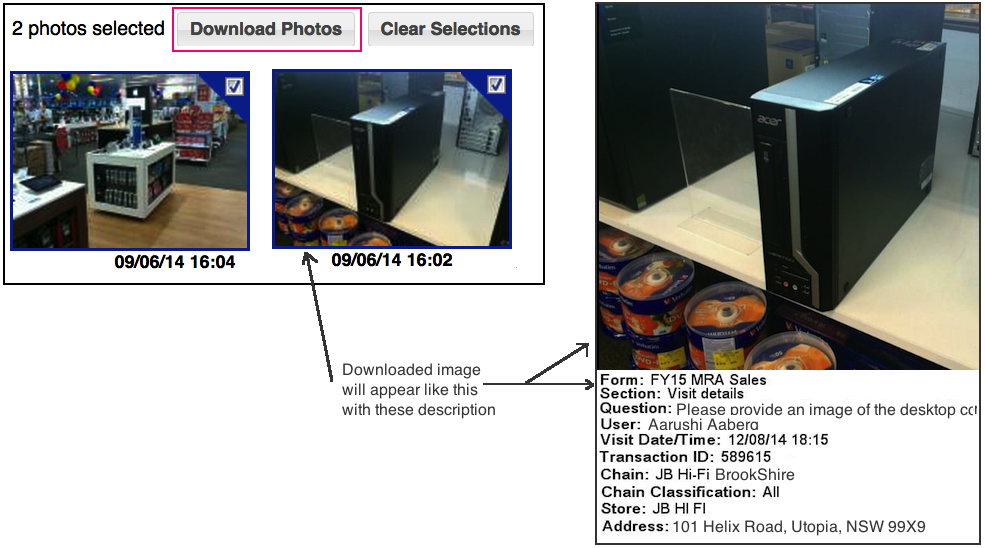
Downloading Feature
Select necessary photos through the check box and click on the download button. Selected photos will be downloaded as a zip file. The downloaded photos will also show you a description of the call report, submission date etc.
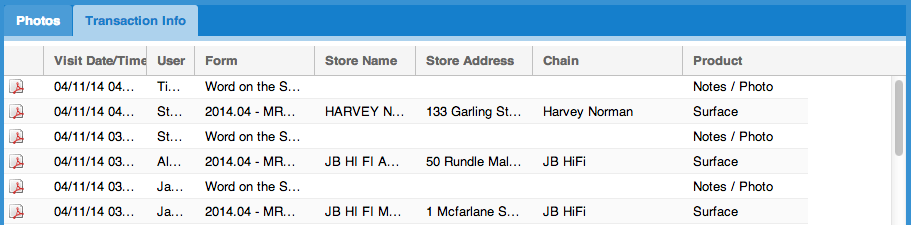
Data view:
As shown below, data view displays the details of various transactions (call report submissions) that contained a photo. As you can see in the picture below, it shows the date/time, user name, form name, store name, device used to capture the picture etc.
Clicking on the pdf file icon (for each record) will generate a full printable report of that transaction with the photo embedded in it. This can be handy to communicate / share with others through emails or hand over as print outs.
Filter Options and Save option are very similar to those in RSP training dashboard. Please refer to Filtering Options in RSP Training Dashboard page for details.